
It’s summer, which means blue skies, bright-colored clothing, and all the freshest fruit recipes. It also means that a good majority of the world in which we live are traveling to exciting places, and as a book lover, there are no better areas to visit than the settings of some of the most-read classics. Invaluable created a map of every travel-enthused bibliophile’s dream: the most-used global locations in literature based on title and author recognition. From the English countryside to the bustling streets of New York City, plan a trip to see some of the landmarks that inspire your favorite books and use the map as a guide and inspiration for your next travels. While I was reading through Invaluable’s The Best Literary Settings in Classic Literature article I was inspired to create another bookish inspired craft project using paper mache letters.

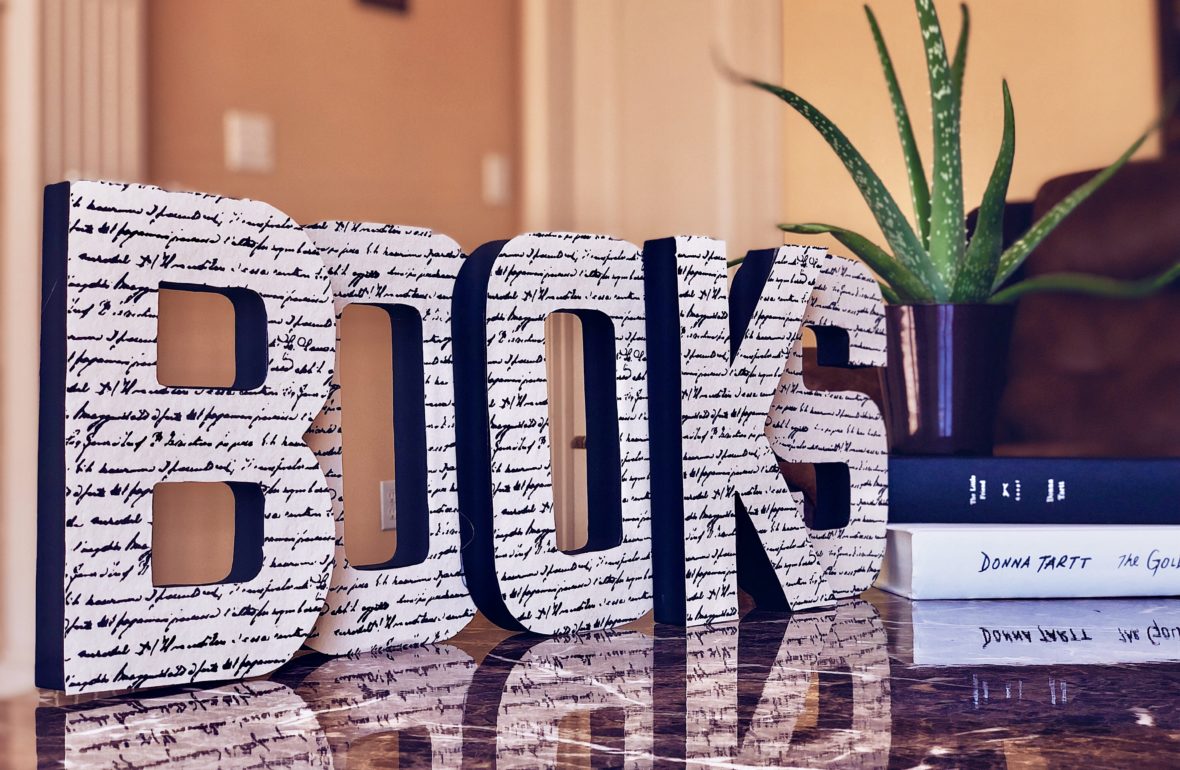
Just like the bookish light box, this craft project is a great addition to any bookshelf. It’s an easy project that will let you get creative and looks great on any bookshelf. All you need is some paper mache letters, scrapbook paper, paint, and some glue. You can choose any word, phrase, scrapbook paper design, or paint colors. For my sign, I choose to go with the word books and decorate it in the theme of books since I wanted to flow with the decor of my office and bookshelf.
In the name of full transparency, please be aware that this post contains affiliate links. Any purchases made through such links will result in a small commission for me (at no extra cost for you).
What you’ll need
- Paper Mache Letters
- Mod Podge
- Scrapbook Paper
- Paint & Paint Brushes
- X-Acto Knife & Scissors
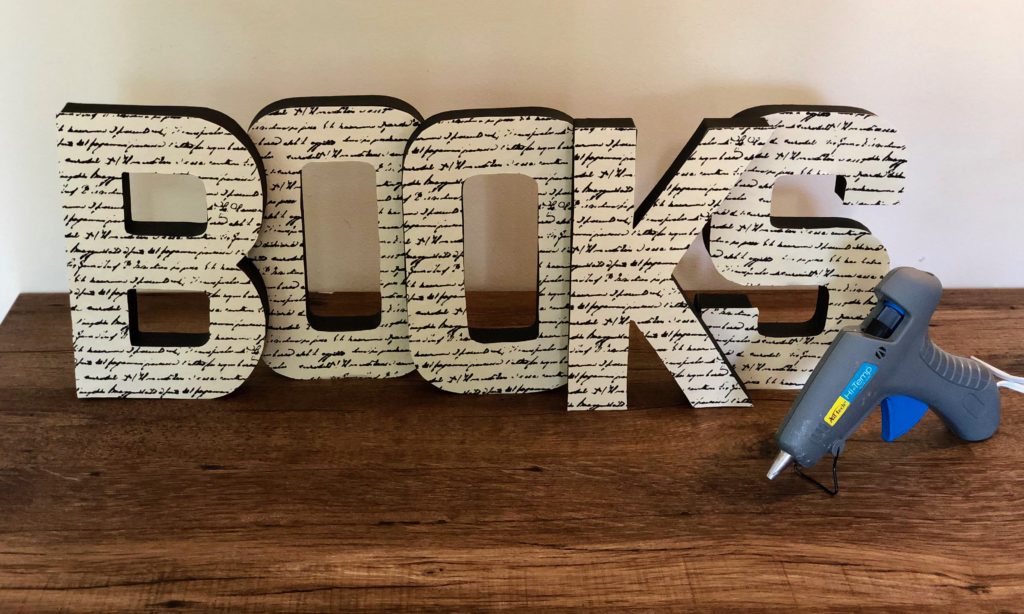
- Hot Glue Gun
Instructions
- Start by tracing each letter onto the scrapbook paper backward. Then cut out each letter and set aside.

- Next, paint each letter the color of your choosing. Set aside and let dry. Once it’s fully dry use the mod podge to glue the scrapbook pages to the front of the letters and let dry.

- Once both the letters have dried. Arrange and use your hot glue gun to glue them into place. After that, you’re all done and have something new to decorate your bookshelf with.
Notes
- Word and phrase suggestions: books, book, book nerd, read, reading.
- Make sure that you place and trace the letters onto the backside backward. Otherwise, it won’t be in the right direction when you go to glue the letters onto the paper mache letters.
- You can use whatever size letters you’d like for your sign.
Pin Me!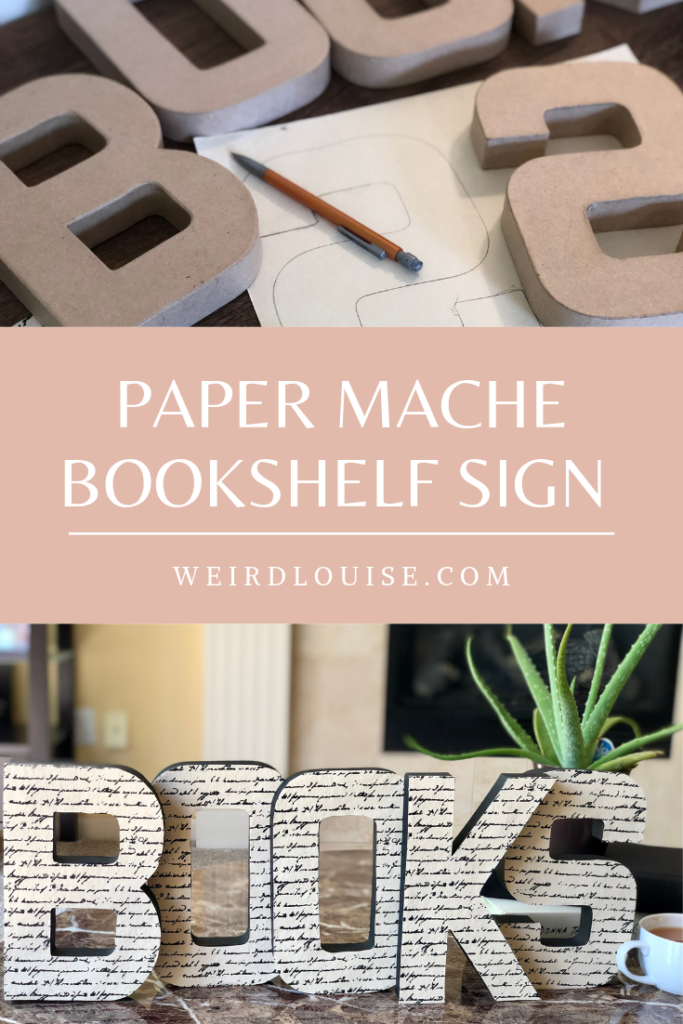


These look FANTASTIC!!!! 👏🏽👏🏽👏🏽👏🏽
Thank you! 😁
Oh, now this looks like a great easy project to make. I should make this and put it on top of my bookshelves, would make a great decoration for it. I might even have to make one for my desk that says ‘Gamer’, but for that one, I would have to find the right paper to cover the letters with.
Making one for your desk is a great idea. Hope you find the right scrapbook paper to tie everything together. 😀
This looks so professional and neat! I love a good DIY although I have absolutely no space to put those Lol. I would probably use “Nerd” for mine. Thanks for sharing Angela! <3
No problem, and thank you. I’m starting to run out of space in my office to put things I make 😆. “Nerd” is a good one. 🤓