
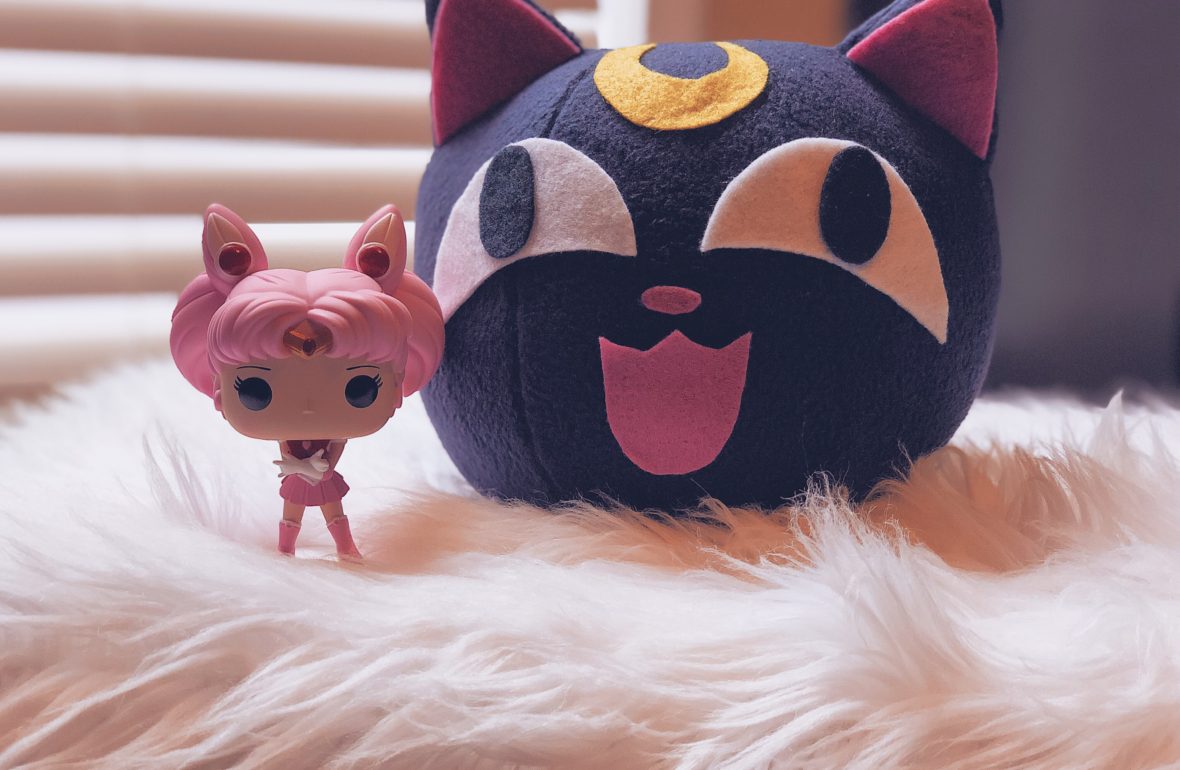
Luna P Henge!
I’m back at it again with another sailor moon inspired craft project. This time with Chibiusa helpful companion Luna P. In moving I realized that I have a lot of fabric leftover from other projects. So I tried to think of projects that would allow me to do something with scrap fabric. When I was going through all the scrap fabric I realized I had the colors to do something related to Luna from Sailor Moon.
Then it hit me I could make a Luna-p plush using some of the scrap fabric I had lying around. This project was really easy to put together and I ended up making two. It’s a great project if you’re a beginner to sewing and doesn’t need a lot of material so it’s fairly cheap to make. With this DIY you’ll be able to make your own Luna P plush.
In the name of full transparency, please be aware that this post contains affiliate links. Any purchases made through such links will result in a small commission for me (at no extra cost for you).
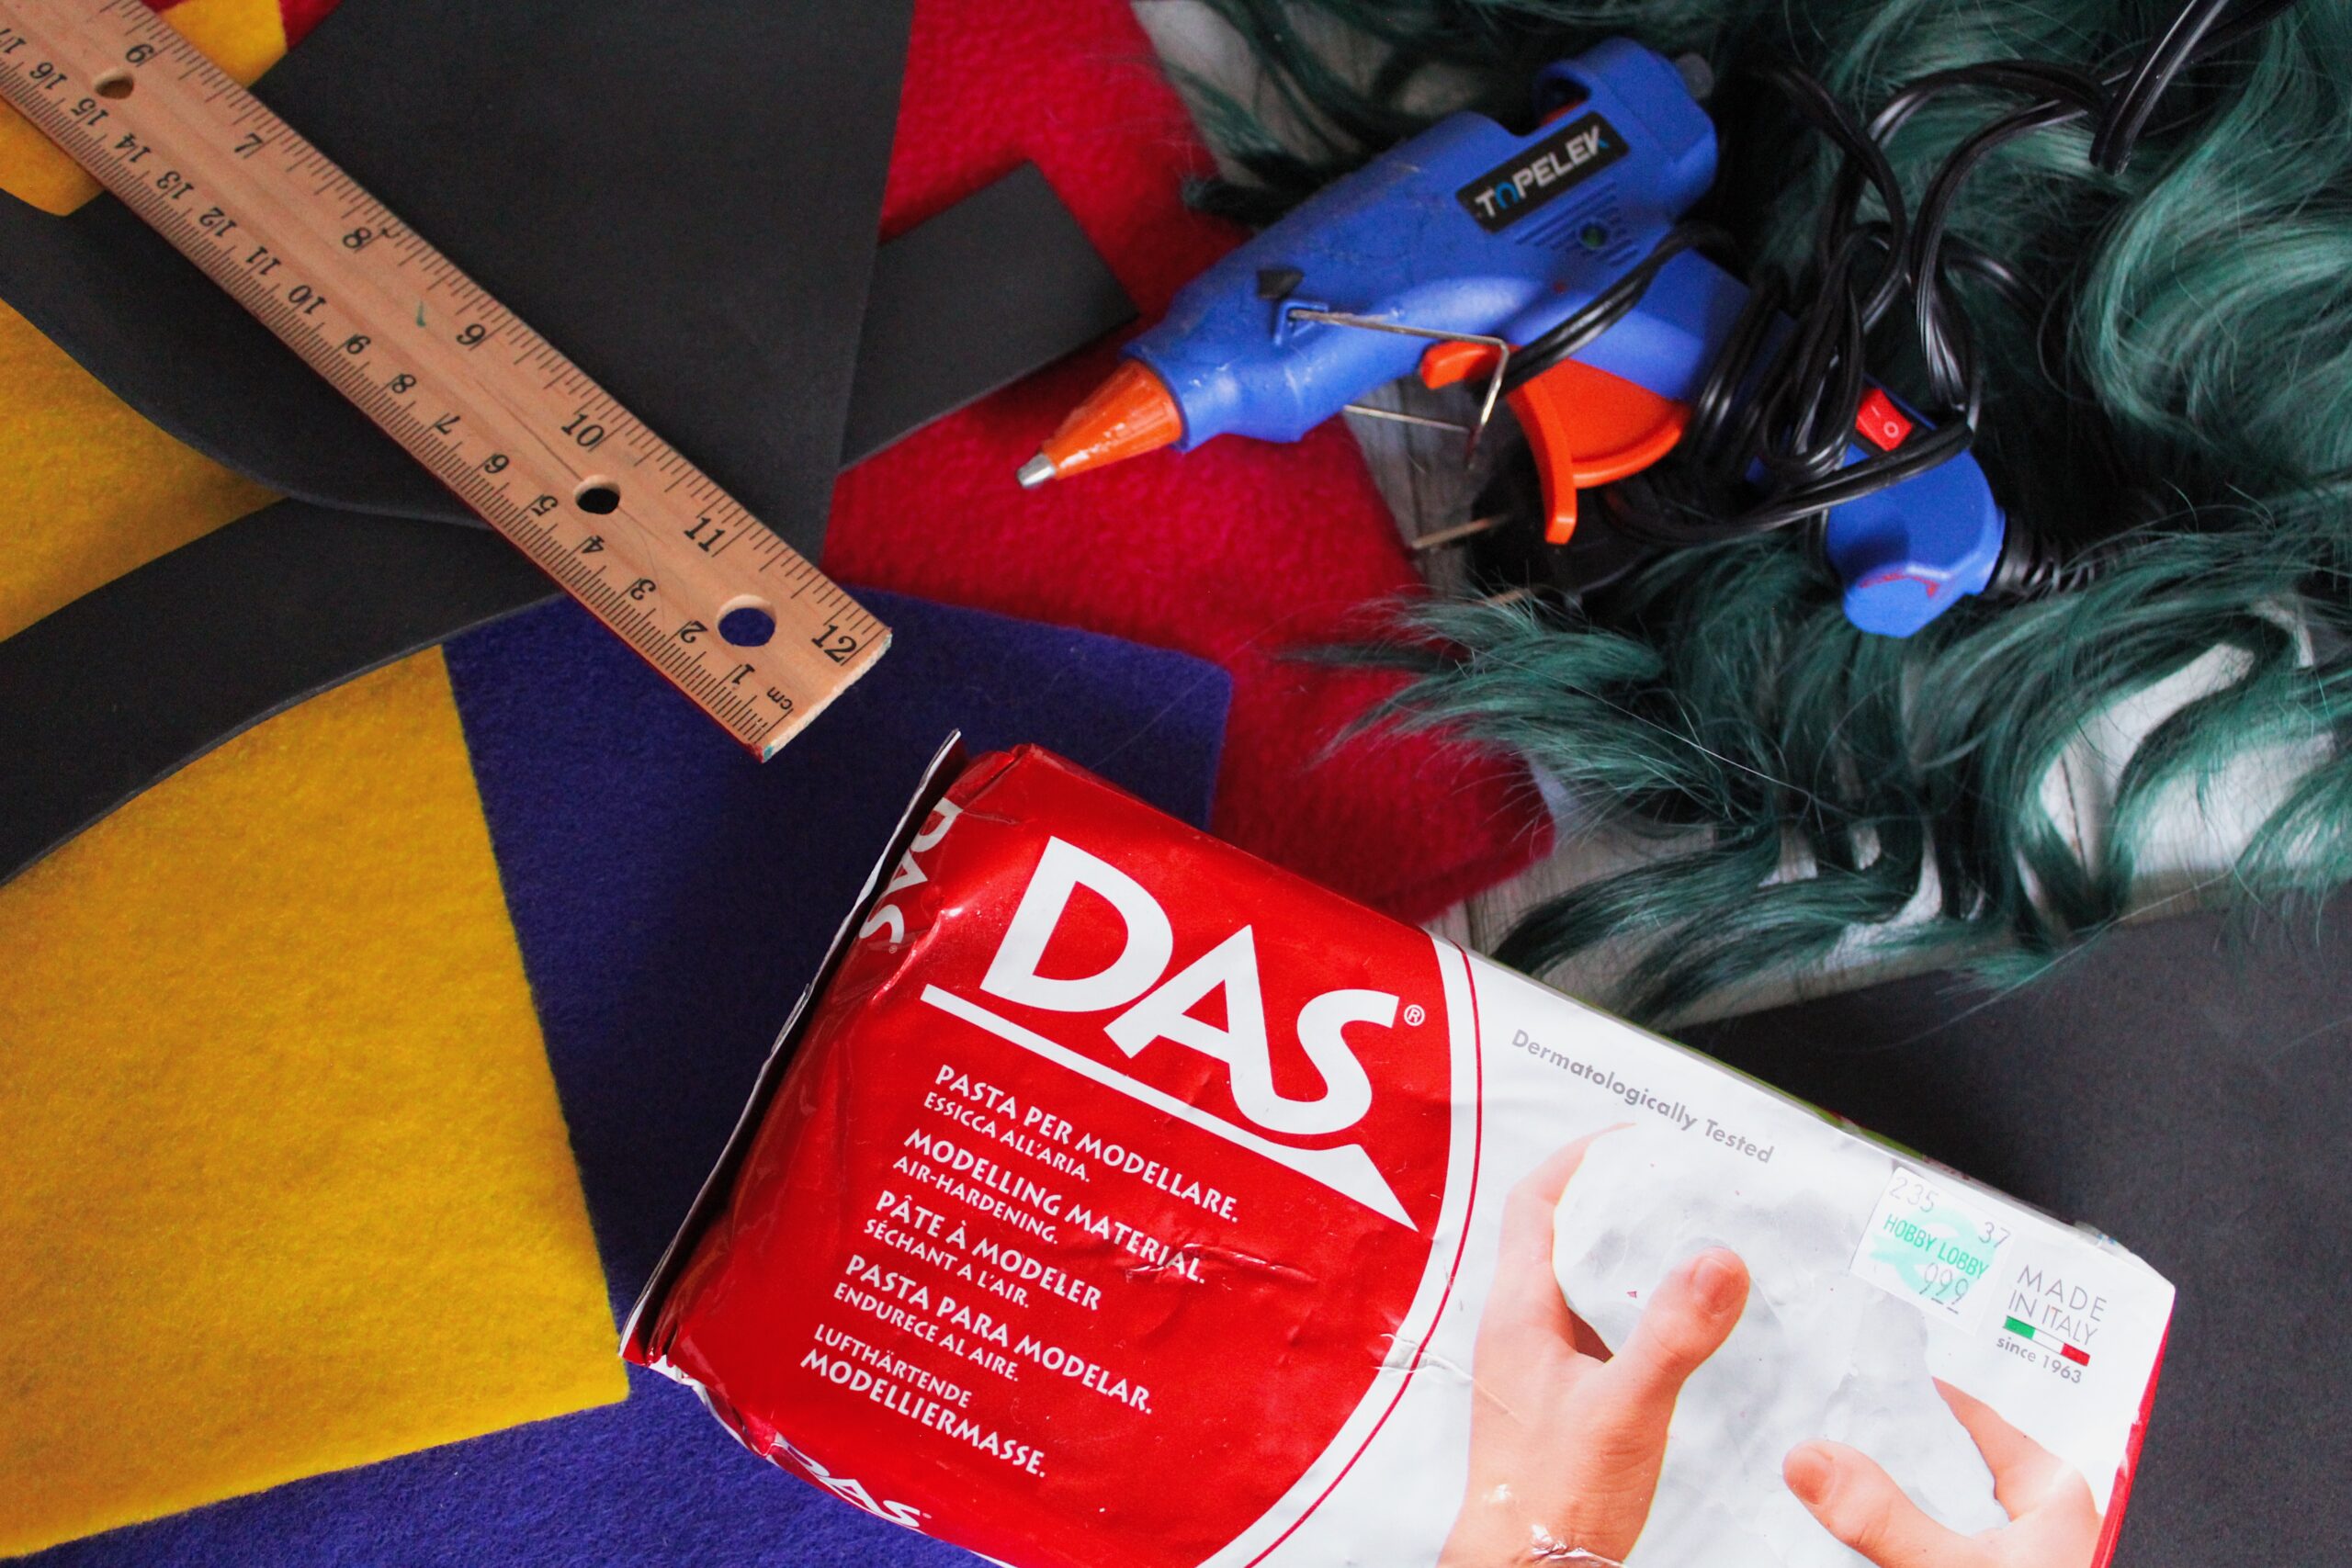
What You’ll Need:
- 1/2 Yard of Dark Blue Fleece
- White, Yellow, Pink, and Black Craft Felt
- Sewing Machine or Needle & Thread
- Poly-Fil
- Hot Glue Gun
- Freezer Paper
- Iron
- Pattern
Directions
- Trace pattern on to freezer paper. Then iron the freezer paper shapes on to the fabric cut the shapes out and peel off the freezer paper
- Hot glue the ears and the eyes into place.

- Pin the ears right sides together then sew along the outer edge of the ears and the stuff with poly-fil.
- Take two oval pieces and place one right side facing up. Then place an ear with the side that has pink facing down on the outer edge about an inch from the top. Next place another oval piece with the right side facing down. The order will be oval, ear, then oval with the right sides of the oval touching.

- Then sew around the outer edge and then flip inside out. Repeat step 4 for the other ear. You’ll use one side for the left and the other side for the right. Take the left side and place an oval on top with the right sides touch. Then sew along the other edge.
- Next, take the right ear and place it right sides touch over the oval piece you just sewed. Then pin into place and sew along the outer edge.

- Once you have done this you should have the front of your luna plush finished. After that, sew on the back piece. Place an oval piece so that two right sides are touching. Next, pin into place and sew along the outer edge.
- After you’ve done that you should have in the back. Your going to pin the two right sides together and sew along the outer edge but, leave an opening big enough for turning.
- Before turning your plush inside out trim off the excess fabric but be careful not to cut the seam. After you’ve trimmed, the excess fabric flip the plush inside out.
- Add poly-fill to your plush and blind stitch it closed.
- Lastly, place and pin the face into place. When you have things where you’d like them then glue them into place.

Craft Notes
- After you add poly-fill I would suggest letting it sit for a couple of hours before placing and gluing the face. This way the ball can settle and take shape.
- The pattern is a rough sketch of the shapes needed to make your luna-p plush. So you may have to make some adjustments to the pattern to get the desired look.
- To iron on the pattern using freezer paper. Place the freezer paper waxy side down then with the iron on low heat iron the shapes on.
If your a Sailor Moon fan like me check out my other Sailor Moon DIY: Sailor Moon Lighted Glass Block
Pin me!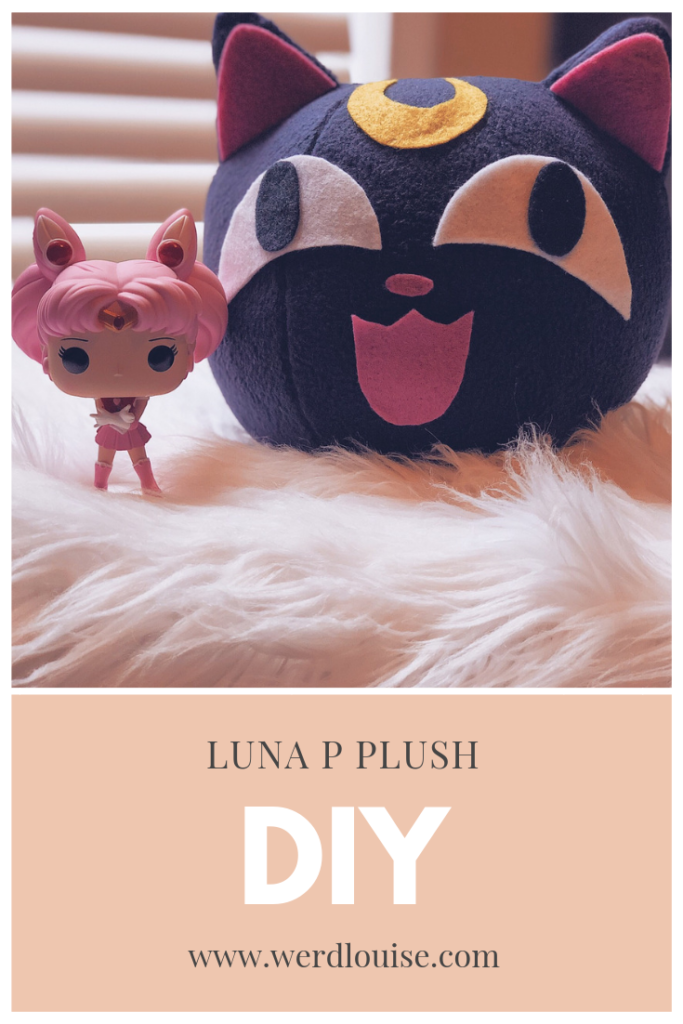


This is so cute! I definitley want to take an afternoon to make my own Luna-P plush for my bookshelf ?
Thank you!
I’m glad you like it.
Awesome! I put the one that I made on my bookshelf. 😀
Oh my god this is so adorable!! The Sailor Moon lover in me is squealing at the cuteness :’)
So cute! I will need to give e it a try.
Omg I love Luna! Sailor Moon used to be my fave show when I was a kid. Using freezer paper is smart! It’s making me itch to do it cuz it’s so cute and crafty 😄
Thank you, it was mine too growing up. I used to watch it almost every day after school. Glad this post inspired you to get crafty. 😀